If the built-in geomaps do not provide the geography you need, Visualizer supports custom geomaps. Custom geomaps use the Keyhole Markup Language (KML) format.
Topics on This Page
Prerequisites
To use custom geomaps, begin with a custom map file as described in this section.
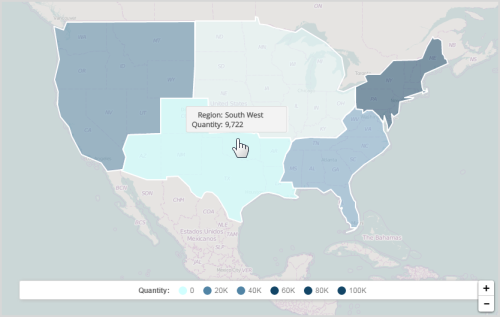
- Create or obtain a map in KML format that corresponds to the data in the relevant attribute.Example: Since there is no standard definition for United States regions, the built-in maps do not support a United States Region attribute. Therefore, a custom KML file is needed.
- Ensure the KML file meets the following criteria:
- File size must be 20MB or less
- File must have the following structure:
<kml>
<Document>
<Placemark>
</Placemark>
<Placemark>
</Placemark>
...
</Document>
</kml>
OR:<kml>
<Document>
<Folder>
<Placemark>
</Placemark>
<Placemark>
</Placemark>
...
</Document>
</Folder>
<Folder>
</Folder>
...
<Document>
</kml>
Add a Custom Map
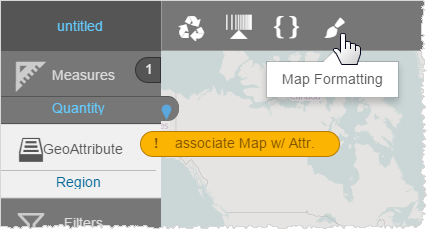
- Create a geomap and add a measure and attribute.Tip: If there is no map associated with the attribute, Visualizer displays a warning message. This message will disappear when you upload the KML file and associate the custom map with the attribute.
- Click Map Formatting.
- Click Custom Maps.
- Click Upload Custom Map.
- Navigate to the KML file and click Open. Visualizer uploads the map file and adds it to the Custom Maps list.
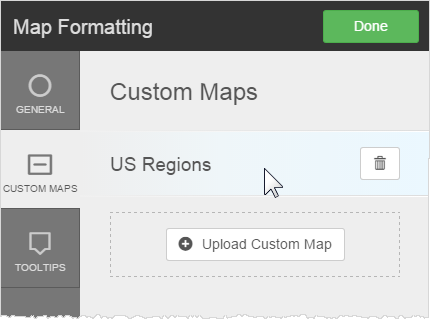
- Click Done.
Apply a Custom Map to a Geomap
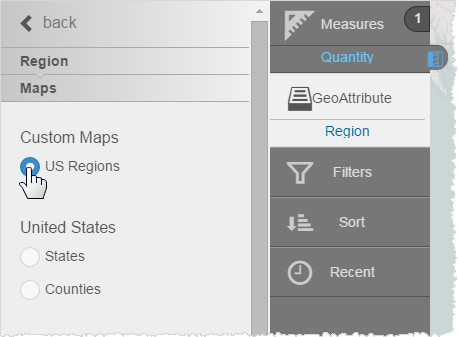
- Select an attribute in Chart Builder to view its properties.
- Click Maps.
- Assign the custom map to the attribute.